Pottery barn offers free classes on a regular basis! True, they are showing off their products but if you are lucky enough to live near a store, I would highly recommend them. The classes are informative, offer tips and tricks in decorating, gives you a great excuse to shop pottery barn (as if we need one) and double bonus – you will receive a 10% off coupon for that day’s shopping! And who can resist that? I recently attended a class titled, “design your dream bedroom” so I thought I would share what I learned along with a few tips of my own.
Furniture and Accessories
The headboard should be placed on the largest wall, opposite the doorway, with at least two feet of space on either side (although this does not always work with small rooms). You may also want to consider what you will see the first thing in the morning when you wake up: a beautiful window, a nicely decorated dresser, or a cluttered closet? No matter how much you love canopy beds, and who doesn’t, your room must have high ceilings so the bed doesn’t overwhelm the room. The designer at Pottery Barn recommended that a bed or side table never been angled so the room is anchored. I don’t actually agree with that, as I have seen and arranged bedrooms beautifully with angled furniture. Every space is different and design tips are guidelines to be followed loosely, not rigid rules never to be broken. That would make for some boring, too predictable rooms!
Unless you prefer the more formal symmetrical look, the bed side tables do not have to match. You can bring it all together using the same lamps, or accessories (in varying heights and using odd numbers, of course). Especially if space is an issue, a small dresser looks great as a bed side table. Speaking of dressers, be sure and not hang a mirror too close or too far as if it is floating on the wall– as a rule of thumb, leave approximately 6” between the two.
Bedding
According to one of the designers there, the biggest mistake people make in purchasing king bedding is to buy strong patterns. No, we are not saying don’t buy strong patterns, just don’t stop there! Dilute the pattern with a solid throw or coverlet, so the pattern doesn’t look so bold on that big ole’ bed. Then connect it all together with matching shams, mix in texture with fuzzy or silky Euros (you will need three), and the absolute must have – a couple of decorative pillows. If you want to do something different with those standard pillows instead of hiding them behind the shams, then hide them under the other pillows. Try it. One trick Pottery Barn uses to get that luxurious appearance, they use two inserts in the duvet cover. Now if you are like me and have had wrestling matches with those things – here is the best tip ever. First, turn the duvet cover inside out, lay the insert(s) on top, tie each corner on with the loops, and turn back right side out. Tada!
Hope you have enjoyed and are now ready to design your own dream bedroom. Next week I head to the Real Estate Staging Association convention in San Francisco and I can’t wait to share the plethora of design information with you on later blogs. As always, I would love hear your comments and see pictures!
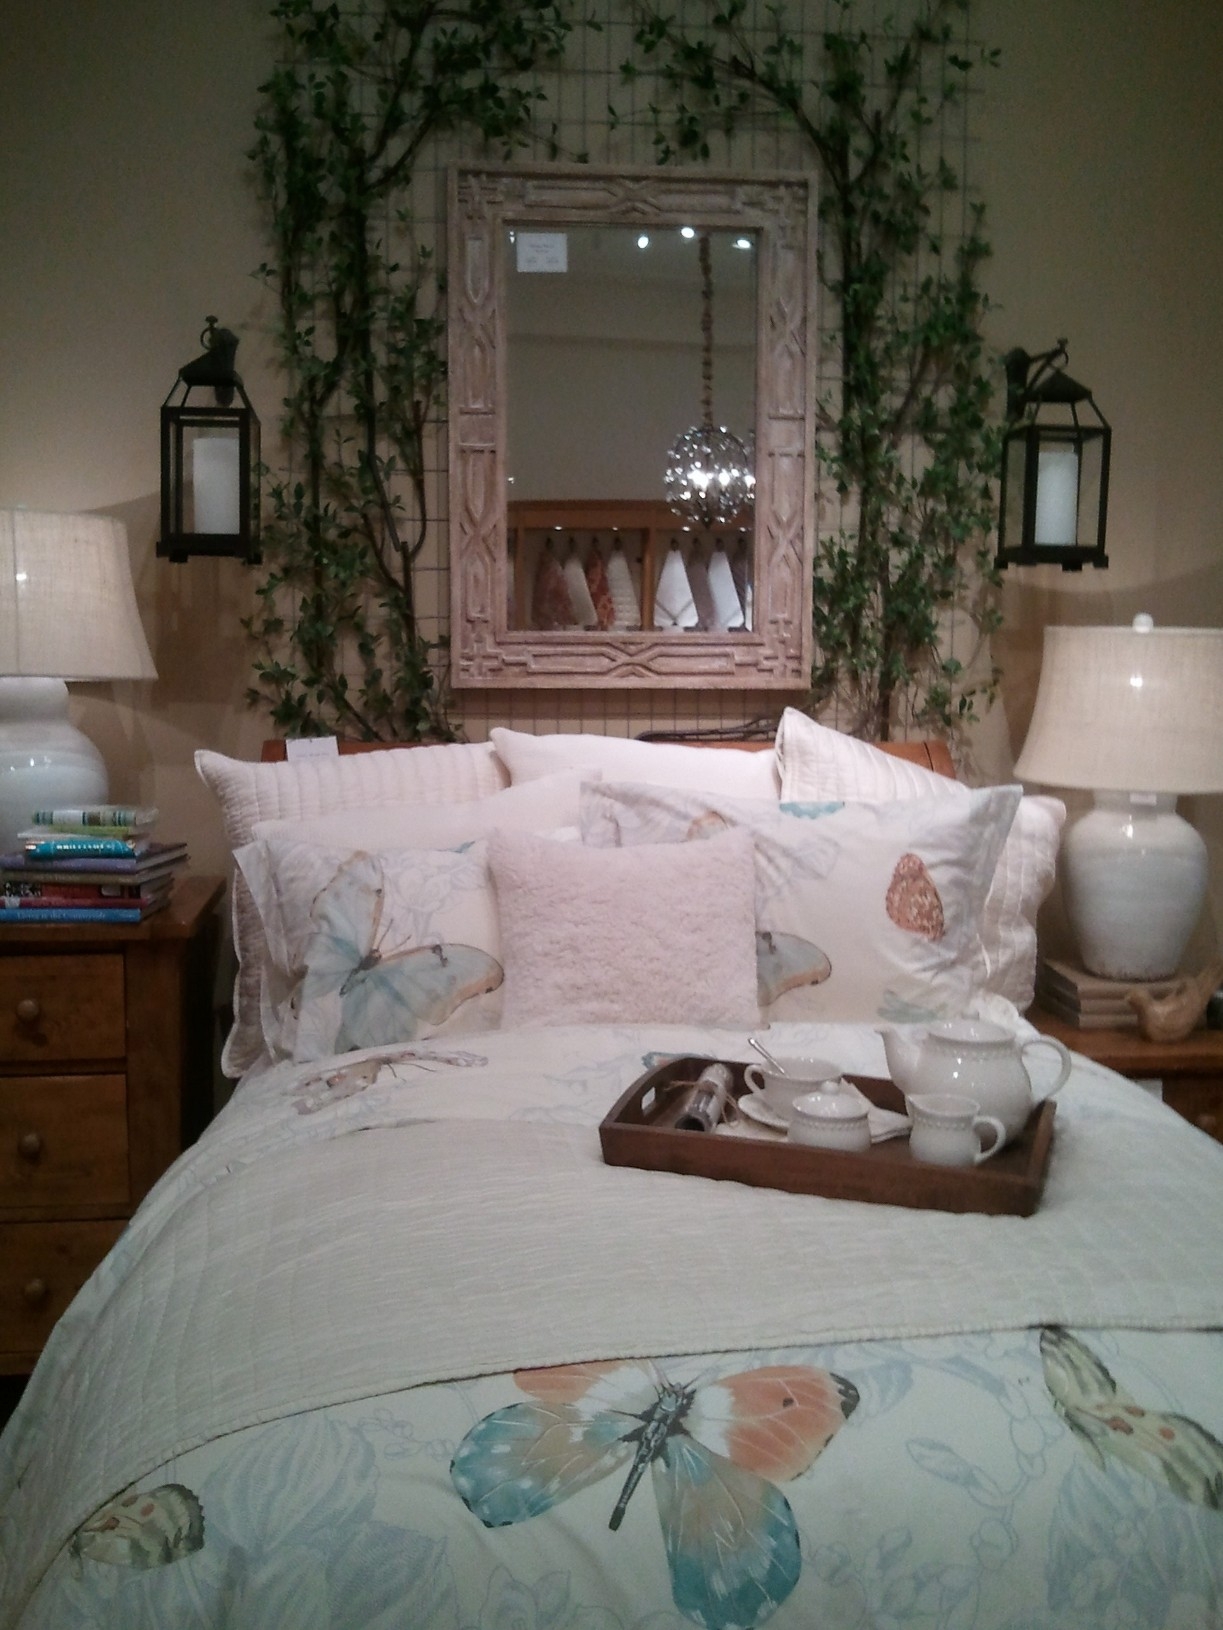
Pottery Barn bedroom display